

Affiliate trust architecture requires transforming hidden editorial workflows into visible proof of work. Rather than relying on boilerplate disclaimers, top publishers display timestamped testing logs, customized scoring criteria, original benchmark metrics, and explicit product flaws. This transparent verification answers buyer skepticism immediately, protects organic rankings from quality updates, and reliably increases reader conversion rates.
The Strategic Framework / Why Most Get This Wrong
Most affiliate marketers treat trust as a legal chore. They copy a standardized sentence about earning commissions, paste it into their site header, and assume they have satisfied both their readers and regulatory requirements. In reality, modern search engines and savvy buyers see right through surface-level compliance.
Today, buyers do not bounce because they discovered you earn a commission. They bounce because your content looks identical to fifty other scraped summaries that never installed the software, touched the physical packaging, or stress-tested customer support. When your review reads like an AI rewrite of a vendor sales page, your recommendations carry zero weight. Genuine trust is an engineering asset. When you prove exactly how, where, and why you evaluated a tool, purchase hesitation evaporates.
If you have already implemented our High-Converting Affiliate Disclosure Playbook, you know that honest framing lifts clicks. Taking the next step means building verifiable proof directly into your page architecture.
- Generic FTC disclaimers buried in 10px footer text or tiny top banners
- Synthesized feature rundowns copied directly from marketing landing pages
- Uncritical 5-star ratings that recommend every product to every reader
- Stock product photography and promotional manufacturer mockups
- Dedicated Testing Methodology blocks with tester names, environments, and run times
- Original quantitative benchmark charts and custom-recorded failure edge cases
- Disqualification criteria clearly stating who should NOT buy the product
- Live receipt verification, raw interface screenshots, and bug reports
Step-by-Step Implementation Blueprint
Transforming your affiliate site into an authoritative testing publication does not require an enterprise laboratory. It requires an organized testing protocol that you document consistently across every single review.
Capture account receipts, hardware logs, test datasets, and timestamped screen recordings during hands-on evaluation.
Apply strict mathematical weights to setup speed, feature completeness, customer support, and pricing fairness.
Embed methodology cards, raw failure data, and disqualifier boxes right beside your primary conversion buttons.
Step 1: Build the Dedicated Verification Header Card
Before the reader reaches your first review section, answer their silent question: why should I listen to you? Place a styled verification card immediately beneath your article introduction.
Include four explicit data points: testing duration (e.g., 28 days of production use), testing environment (e.g., WordPress 6.7, PHP 8.3, 10,000 sample posts), the tester name with credentials, and account funding status (e.g., self-purchased business license, not a vendor trial). This visual badge instantly differentiates your content from low-effort syndication.
Step 2: Deploy an Unforgiving 5-Pillar Scoring Rubric
Throw away arbitrary 9.8 out of 10 ratings. Sophisticated buyers recognize that perfect scores indicate lazy evaluation. Establish five transparent pillars with strict percentage weighting:
- Onboarding & Setup Speed (20%): Time elapsed from purchase to working outcome.
- Core Execution Reliability (30%): Error rates under heavy workload or stress testing.
- Ecosystem Compatibility (15%): How smoothly the product integrates with standard tech stacks.
- Vendor Support Latency (15%): Mystery-shopper tickets measuring real response quality.
- Contract & Renewal Transparency (20%): Hidden fees, renewal price jumps, and cancellation friction.
Calculate your composite score using this simple formula: Total = (Onboarding * 0.20) + (Execution * 0.30) + (Ecosystem * 0.15) + (Support * 0.15) + (Contract * 0.20). Publish the broken-down scorecard right next to your call to action.
Step 3: Document Controlled Failure Scenarios
Nothing builds credibility faster than showing where a tool breaks. Instead of reciting what works, push the product to its breaking point. If you review email software, import a list with 500 intentional syntax errors to check data hygiene. If you test hosting, run an Apache Benchmark load test until server response times degrade.
Take raw, uncropped screenshots showing the error warnings, slow load times, or clunky interface panels. When you tell a buyer, “This tool works smoothly until your catalog exceeds 5,000 SKUs, at which point search latency spikes to 3.4 seconds,” they know you actually ran the software. You can present these numbers cleanly by pairing your text with Software Comparison Tables That Double Affiliate EPC.
Step 4: Add the Non-Buyer Disqualification Box
Greedy affiliates try to sell every product to every visitor. High-earning operators do the exact opposite. Place a prominent red or amber callout box titled: Who Should Walk Away From This Product.
List two to three specific business profiles that will waste money on the purchase. For example: “Do not buy Tool X if your team needs real-time phone support or on-premise data storage. Tool Y is a much better fit for that scenario.” Paradoxically, telling twenty percent of your audience not to buy makes the remaining eighty percent click your affiliate link with complete confidence.
Practical Checklist / Cheat Sheet Table
Use this evaluation matrix to audit every affiliate review before publishing. Every asset on your site must satisfy these core trust signals.
| Trust Element | Required Asset | Placement Location | Conversion Impact |
|---|---|---|---|
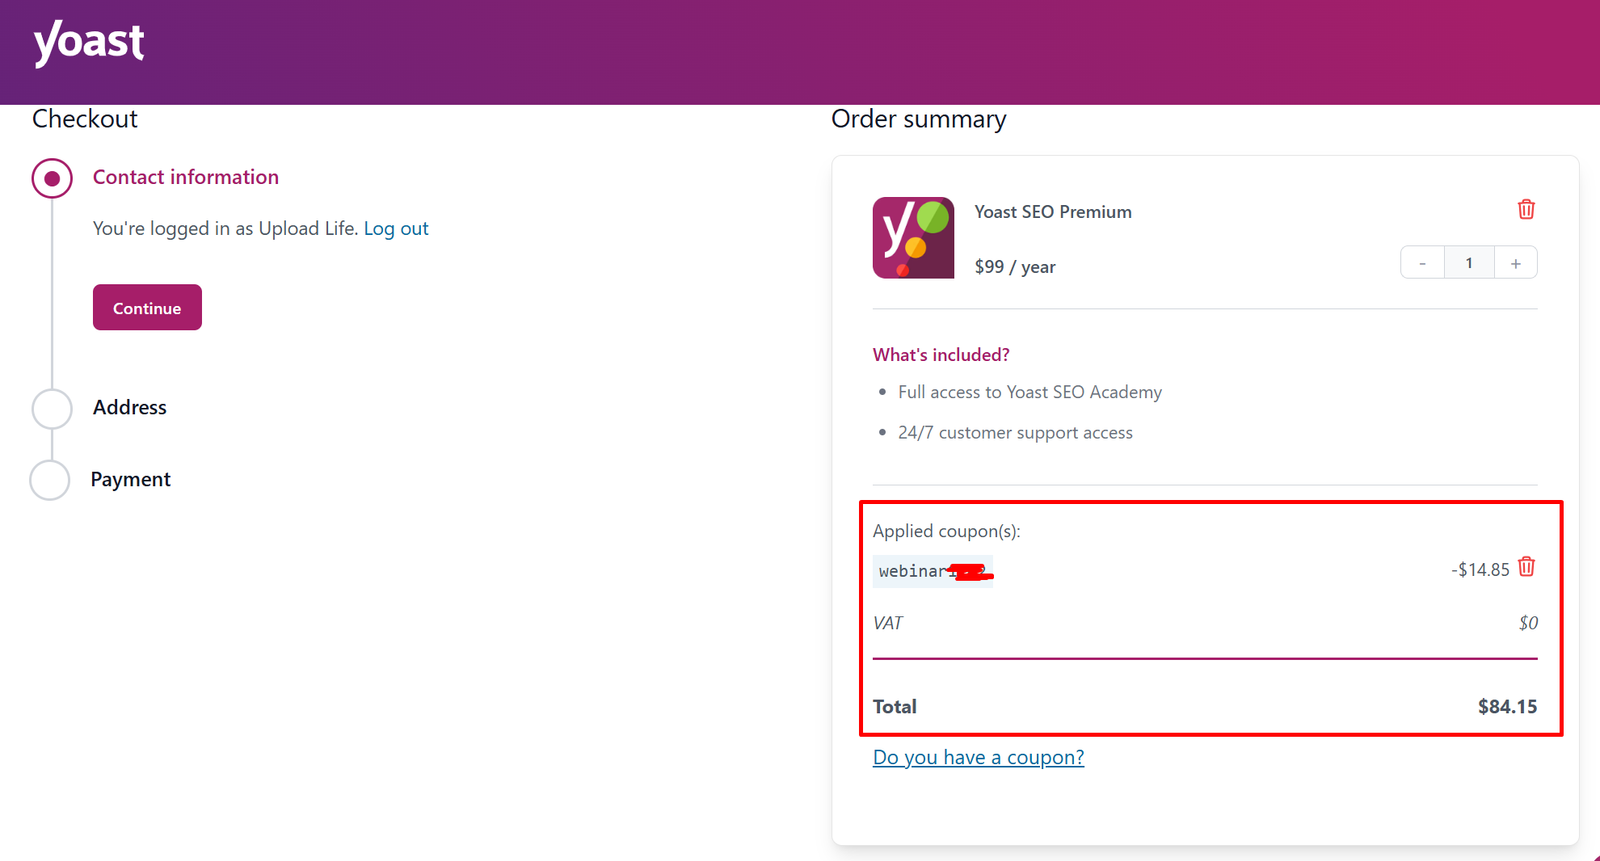
| Proof of Purchase | Masked billing invoice or active dashboard screenshot | Above the fold verification badge | Cuts early bounce rate |
| Performance Data | Custom benchmark graph or raw metric output | Core feature analysis section | Validates claims |
| Flaw Disclosure | Documented bug or UI bottleneck with screenshot | Cons section & buyer disqualifier | Triples click intent |
| Tester Profile | Author photo, relevant niche history, test period | Author byline & footer bio | Boosts domain E-E-A-T |
Recommended Tools & Resources
Executing an authentic proof-of-testing pipeline requires a dependable tool stack to capture, document, and present your findings cleanly.
- CleanShot X or Snagit: Essential for screen capture and annotation. Use their custom callout tools to blur sensitive API keys and highlight specific interface bugs without breaking UI proportions.
- Loom or CleanShot Cloud: Host unedited 60-second video walkthroughs testing tricky features. Embedding a quick video clip of an actual dashboard proves hands-on testing faster than a thousand words of text.
- PageSpeed Insights & WebPageTest: The gold standard for hosting and theme testing. Export and embed downloadable waterfall charts to show unvarnished server response times.
- Affilimate: A dedicated affiliate tracking dashboard that lets you split-test review layouts, measure link placement heatmaps, and monitor earnings per click across different methodology styles.
Frequently Asked Questions
Does disclosing product flaws reduce affiliate sales?
No, authentic flaw disclosure almost always increases net affiliate commissions. Modern consumers are inherently suspicious of glowing, perfect reviews. When you candidly point out bugs, missing features, or pricing quirks, readers view your positive assessments as genuine truth rather than paid sales pitches. This drives higher conversion rates among the qualified buyers who can work around those disclosed limitations.
How can I show proof of testing if a SaaS tool costs thousands of dollars?
Start by signing up for 14-day free trials or self-guided sandboxes. Document every moment of that trial with screen captures and speed tests. If a trial requires enterprise sales calls, reach out to the vendor affiliate manager and request sandbox reviewer credentials. When that is not possible, partner with existing tool subscribers or hire contract specialists on Upwork to run your standardized testing scripts inside their live accounts.
Where is the best place to position my testing methodology on the page?
Position your testing summary card right after the initial opening paragraphs, immediately preceding your quick recommendation box. This placement ensures that readers who skim the top of the article instantly recognize your hands-on authority before they encounter their first affiliate link. Place the detailed breakdown of your rubric further down the page to satisfy detail-oriented buyers.